—
0{{total_slide_count}}
About Us
Tulip Embroidery is one of professional embroidery digitizing company from United States and we are serving digitizing service since 12 years. We have countless satisfied customers and clients from all across the world who rely to avail our experienced and professional embroidery digitizing service from last many years. Our superior priority to offer best embroidery digitizing service and complete clients digitize orders on their requested time frame and this is basic reason of our digitizing company success. Our success only depends on our quality digitizing works and it will also help for developing business of our clients as well.
Inquery
What We Can Offer You
Embroidery Digitizing
At Tulip Embroidery, we transform your designs into precise, high-quality digital files ready for embroidery. Our expert team specializes in converting artwork into stitch-perfect embroidery files, ensuring that every detail is captured with accuracy and craftsmanship. Whether you’re looking to digitize logos, create intricate patterns, or produce custom designs for apparel, our embroidery digitizing services are tailored to meet your needs. With a commitment to excellence and a focus on delivering flawless results, we help bring your creative visions to life with unparalleled precision and quality.

Vector Designs
At Tulip Embroidery, we transform your designs into precise, high-quality digital files ready for embroidery. Our expert team specializes in converting artwork into stitch-perfect embroidery files, ensuring that every detail is captured with accuracy and craftsmanship. Whether you’re looking to digitize logos, create intricate patterns, or produce custom designs for apparel, our embroidery digitizing services are tailored to meet your needs. With a commitment to excellence and a focus on delivering flawless results, we help bring your creative visions to life with unparalleled precision and quality.

Logo Designs
At Tulip Embroidery, we transform your designs into precise, high-quality digital files ready for embroidery. Our expert team specializes in converting artwork into stitch-perfect embroidery files, ensuring that every detail is captured with accuracy and craftsmanship. Whether you’re looking to digitize logos, create intricate patterns, or produce custom designs for apparel, our embroidery digitizing services are tailored to meet your needs. With a commitment to excellence and a focus on delivering flawless results, we help bring your creative visions to life with unparalleled precision and quality.

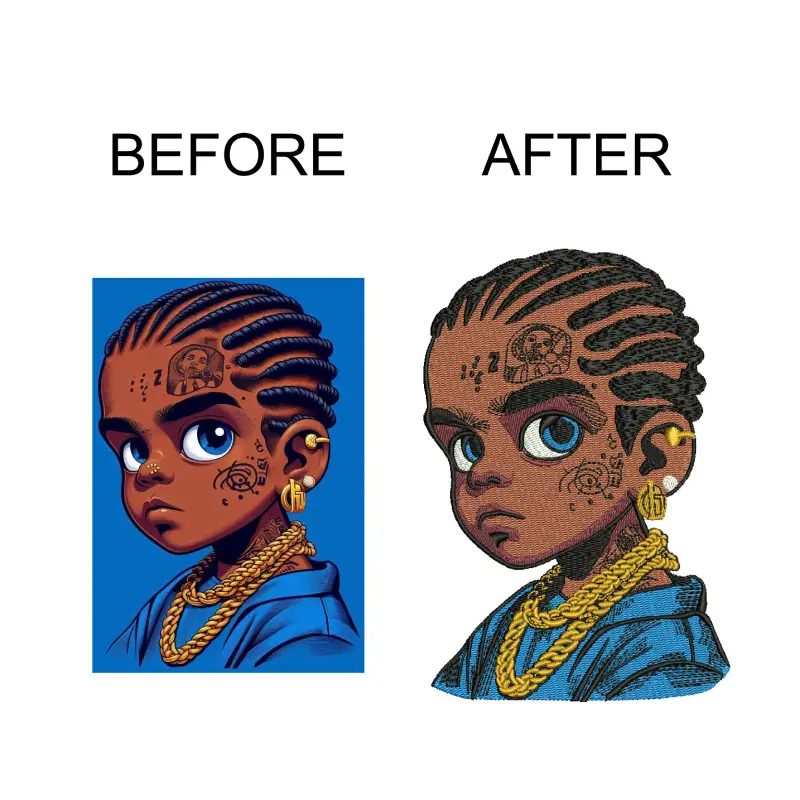
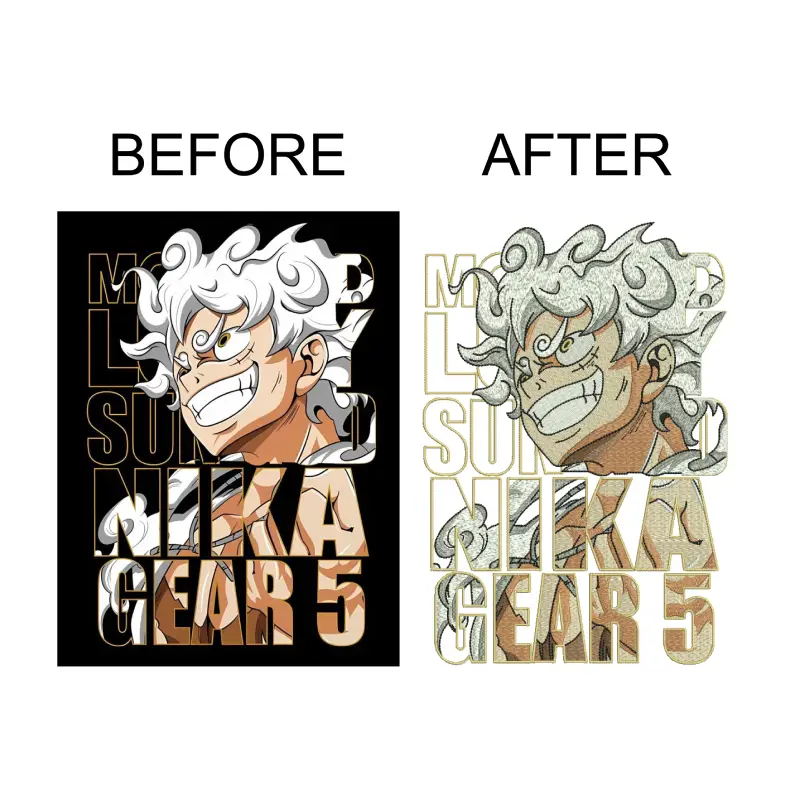
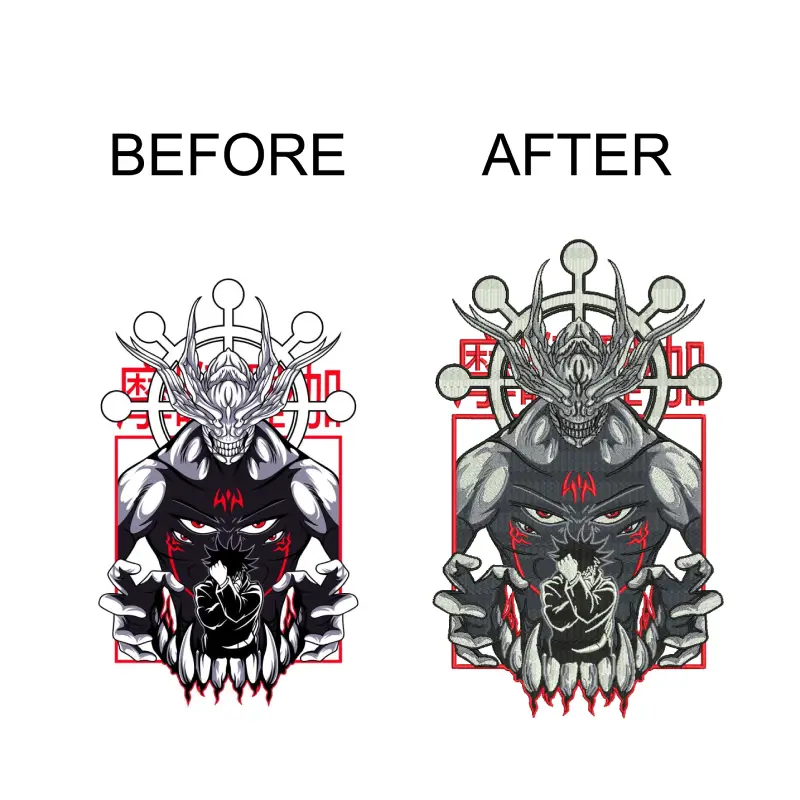
TULIP EMBROIDERY DIGITIZING AND VECTOR DESIGNING
Get your desired artwork done without wasting time and save money
Tulip Embroidery is a leading digitizing center in the UK, with over 20 years of experience in the industry. Our business principles are rooted in high efficiency, guaranteed quality, and personalized customer service. We primarily serve embroidery digitizing and vector design manufacturers in the USA and UK
Embroidery Digitizing
Vector Designs
Logo Designs
Screen Printing
Custom Patches
Web Design
Embroidery Digitizing And Vector Art Services
Tulip Embroidery is a leading digitizing center in the UK, with over 20 years of experience in the industry. Our business principles are rooted in high efficiency, guaranteed quality, and personalized customer service. We primarily serve embroidery digitizing and vector design manufacturers in the USA and UK


Custom Design

Embroided Patches

Embroidery Design

Embroidery Badges

Print Design

Custom Design

Print Design

Custom Design

Print Design

Custom Design

Print Design

Custom Design

Print Design

Custom Design

Print Design

— 97.6 Customer Satisfaction
Hear from
happy
customers.
Tulip.Embriodery is meant to be the top-notch resource you require for embroidery digitizing of your products. Being a vector designing agency we produce quality, sustainable design solutions that are sympathetic to all other building elements.

Behind the word mountains, far from the countries Vokalia and Consonantia, there live the blind texts. Separated they live in Bookmarks grove right at the coast

Shams W.Pawel
Founder & CEO of XpeedStudio
They are enthusiastic about providing creative, fast, and personalized embroidery digitizing and vector art conversion services. As a result, they provide high-quality, premium, and affordable online digitizing services in the United States, Europe, Canada, and the United Kingdom, as well as many other countries.

LISSA DURBIN
Behind the word mountains, far from the countries Vokalia and Consonantia, there live the blind texts. Separated they live in Bookmarks grove right at the coast

Shams W.Pawel
Founder & CEO of XpeedStudio
They are enthusiastic about providing creative, fast, and personalized embroidery digitizing and vector art conversion services. As a result, they provide high-quality, premium, and affordable online digitizing services in the United States, Europe, Canada, and the United Kingdom, as well as many other countries.

LISSA DURBIN

Find Your Inner Peace & Happiness...
Join us on this exciting journey and discover how our expertise and passion for digitizing can help your business achieve its full potential.


